Monday, 30 November 2015
Researching CD Covers
In today's lesson my group and I were researching CD cover and advert for inspiration. The below shows Tinashe Album cover 'Aquarius' in which we had liked because of the projector smoke effect similar to the projector effect we had used in our music video.
Task 8 - Research & Planning Print
In this lesson, we were given the plan to the next stages of the coursework which is now t6o create a CD digipack and an A4 magazine advert. My group and I are now on the stages of researching cd covers and adverts for inspiration and creating a pitch to show to the whole class on what we want our cd cover and advert to be.
Friday, 27 November 2015
Last Day of Editing
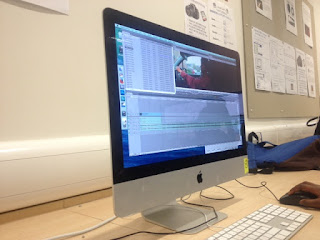
On the last day of editing our music video, my group and I were looking through our music video and making sure everything is in synch. Also from receiving feedback from our rough cut screening, we were making sure everything was in synch because that was the students suggestion of improving and seeing if we could add something to the car scene as people were uncertain of that scene.
Tuesday, 24 November 2015
Rough Cut Screening Feedback
This is a video of my group and I presenting our rough cut for the music video and receiving good and bad feedback of our music video so far.
Monday, 23 November 2015
Rough Cut Screening
This is the video my group and I had presented to the class of our music video so far to which we had received afterwards some feedback and improvements to add.
Friday, 20 November 2015
Editing Day 14
Today we kept making sure everything was in synch with the footage with the track, as we did not receive in postage our colour smoke bombs we had filled in gaps to the video to which the video would be ready to present as a rough cut to the class. We also added a wipe effect in the beginning of the car scene and also our last shot.
Thursday, 19 November 2015
Editing Day 13
In todays lesson for editing we were having trouble with the sparkler footage because from our view it looked fuzzy therefore we had cut the scene out and cut in into that specific footage again eventually it had worked and looked clear again. As we also noticed blank screens between some shots we had elongated scenes to get rid of it so the video will flow.
Tuesday, 17 November 2015
Monday, 16 November 2015
Editing Day 11
Today we were synching the track to the footage also we added low motion to the sparkler scene. Also we had added text over the car scene of the name of the artist and the name of the song. As we felt that the excel scene looked to dark we had brightened it up.
Friday, 13 November 2015
Editing Day 10
Today we were filling in scenes of the sparklers for the ending of the track and adding lip synching parts as well.
Thursday, 12 November 2015
Editing Day 9
In today's lesson, we had carried on from where we had left off which was to synch different scenes and locations to the track before we add the West Silvertown scenes onto the video.
Tuesday, 10 November 2015
Editing Day 8
In today's lesson, my group and I were just adding different scenes from different locations to synch with the track before we add the West Silvertown scene.
Monday, 9 November 2015
Editing Day 7
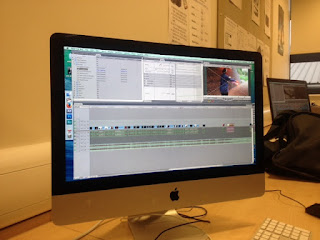
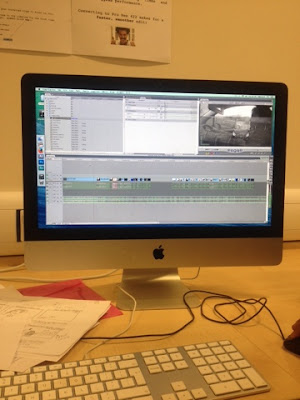
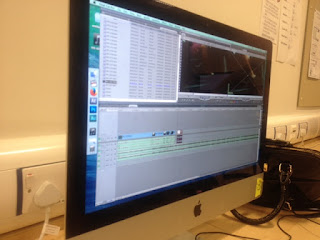
In today's lesson, we had uploaded all he footage of the Mile End and West Silvertown shoot onto the Mac. We had then converted all the files on MPEG Streamclip, also we had then uploaded the compressed footage on Final Cut Pro with the rest of our footage. Later we had synched up the Mile end footage with the track.
Sunday, 8 November 2015
Filming Day 5 - Mile End and West Silvertown
Friday, 6 November 2015
Editing Day 6
In today's lesson, we continued to add the black and white effects onto the car scenes we did this by pressing effects and then desaturate. We also notice that the brightness when we had added the effect was too dark therefore we increased the brightness to 10 percent on the brightness tool. This had then made the footage of the car clearer to see. With the footage in the car, we also notice that that too was too dark and unable to see my face in the scene so we increased the brightness on the brightness tool to 5 percent. In which now we were able to see my face and make it the same brightness to the beginning scene of the car driving. We are hoping to edit further of the car scene and also to film and add in close ups and medium shots of the car at the beginning before the lip synching starts in the track.
Thursday, 5 November 2015
Editing Day 5
In today's lesson, we began to add the effects onto the introduction of the track which was the car scene in which we originally had wanted it to be in black and white from the research added onto our case studies. We had also left gaps on the track in which we shall add after filming the Mile End scene to our video.
Tuesday, 3 November 2015
Editing Day 4
In today's lesson, we had started synching bits of the Oxford Street scenes onto the track and Jubilee Bridge. Its best for the group and I to just upload and syncing everything to the track and once we have finished we will then begin to add on effects onto the video such as; colour, brightness, blur, text, fade etc.
Monday, 2 November 2015
Editing Day 3
In today's lesson, we had uploaded uploaded the car scene footage that we had filmed on Saturday to our file and then had converted the footage.We then went onto synching the car scene footage with the track. As the car scene is the introduction to the music video, we began editing the first start to the song with the car scene footage.
Subscribe to:
Posts (Atom)